A Beginner’s Guide to Deploy a Super-Fast Website on Nelify or Github within Minutes

There’s no denying that there are various kinds of free website hosting platforms for web developers to take advantage of today. However, when it comes to making processes convenient and hassle-free, especially for beginners, Netlify and Github occupy the top positions on this list. If you are looking to deploy website using Netlify and Github, you have come to the right place.
Here is a step-by-step guide on how to host a webpage on Netlify and Github.
In this blog, you will find how to:
- Get started on Github
- Login to Github
- Add your local code to Github
- Setup Github Pages
- Get started with Netlify
- Login to Netlify
- Authorize Netlify
- Pick the version control system of your choice
- Deploy site/configure settings
- Change site name
Part I
Using Github to host static websites
Now let’s begin:
But first, a few prerequisites to keep in mind.
- It’s important to know how to use Git and Github
- You need to have an account on Github
Getting started on Github
Let’s start by using Github Account to deploy our static website.
Step 1: Log in to Github
Once you have logged in successfully, click on the “New” button on the top left side to create a new repository.

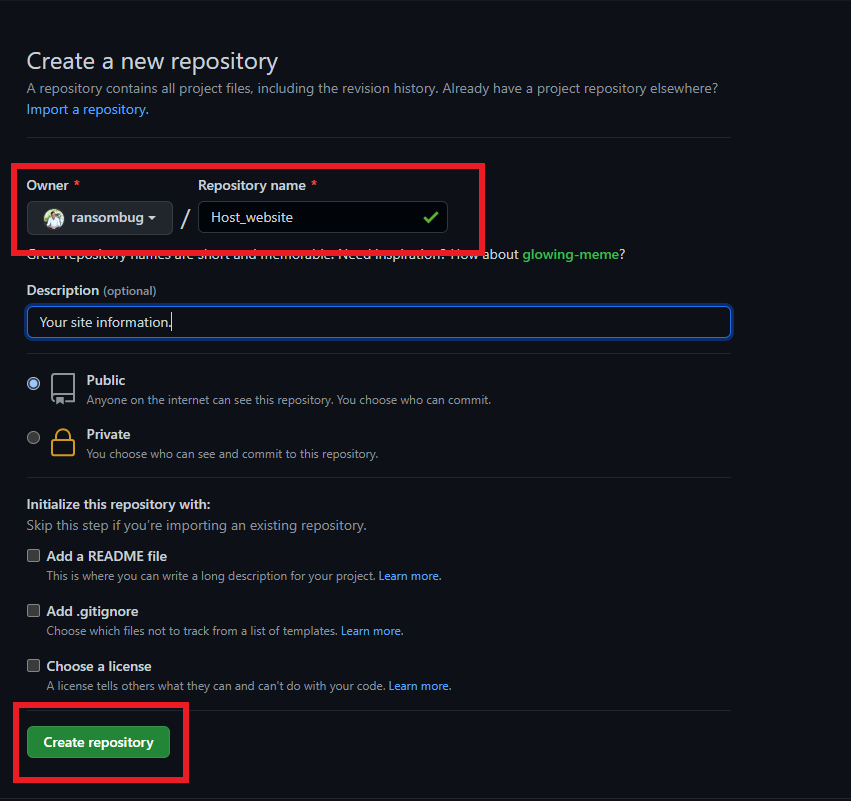
Step 2: Create a new repository
Add the repository name and click on the “Create Repository” button.
Once you click on “Create Repository” you will be directed to a page where you will find the commands that you need to execute so that you can push your code to Github.
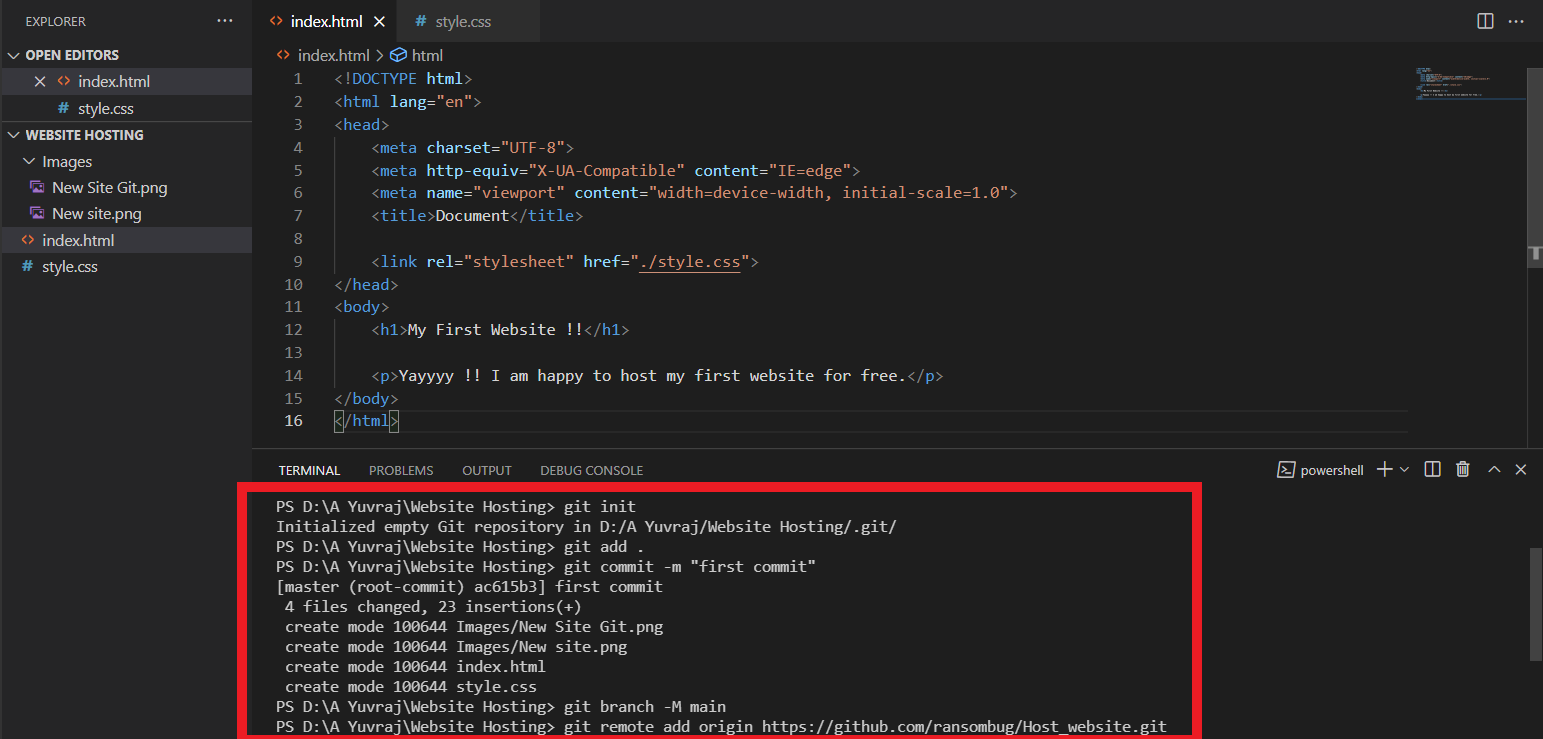
Execute those commands on your editor (VS code or any other editor), which looks like this: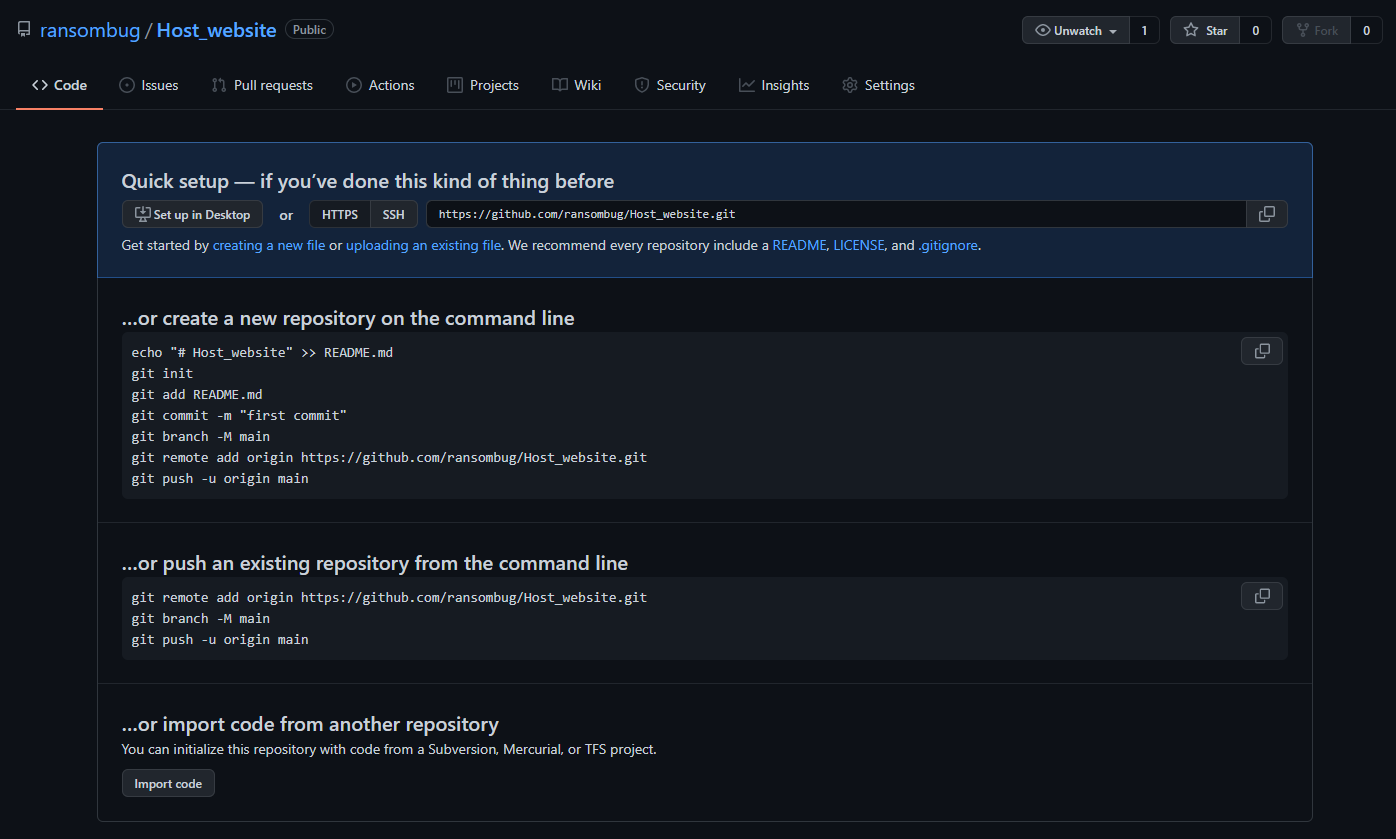
Step 3: Add your local code to the Github

Once the code is successfully pushed, refresh the page and you will be able to see your files and folders. This is how it will look :
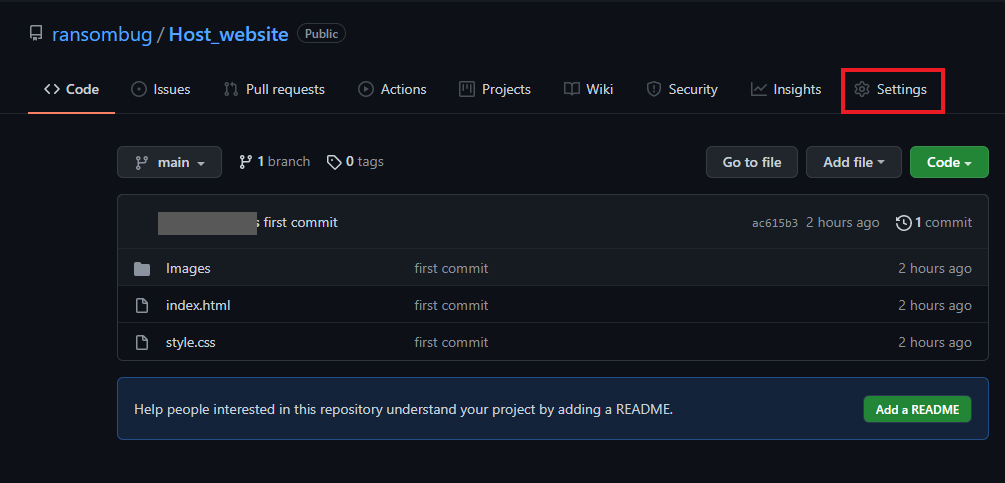
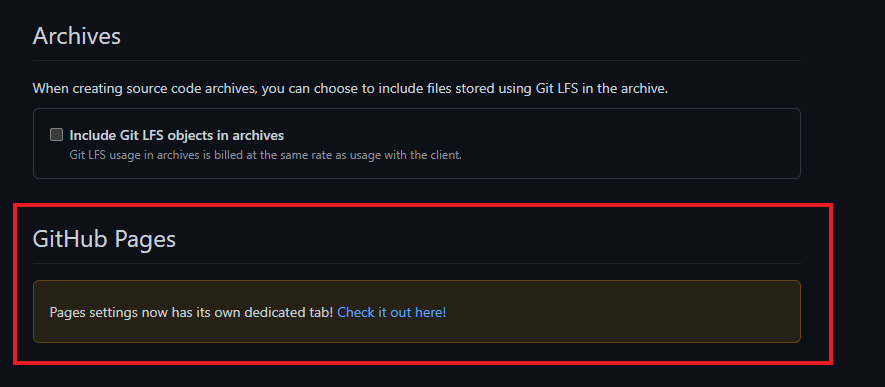
Step 4: Go to Settings and look for Github pages
Now to host your website click on “Settings” and scroll down to ‘Github Pages’.
Step 5: Setup Github pages
The next step involves setting up the Github pages. To do this:
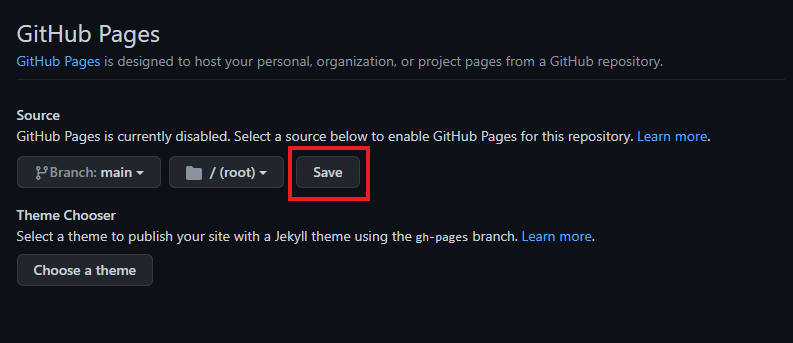
- Select ‘main’.
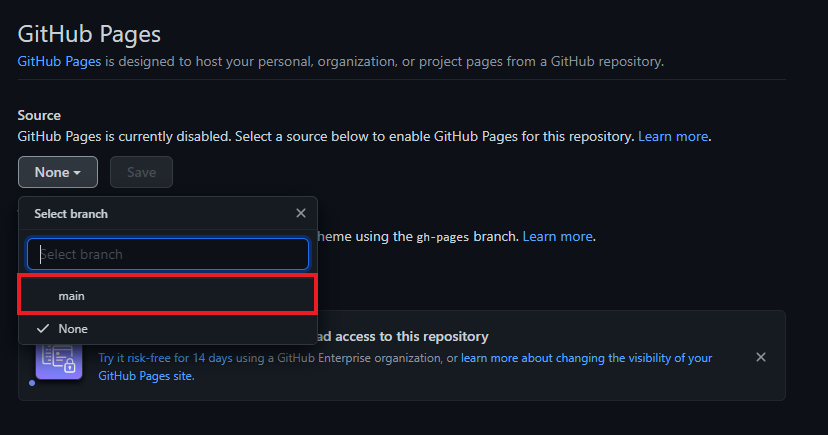
- Click on ‘save’.
- Click on the generated link.
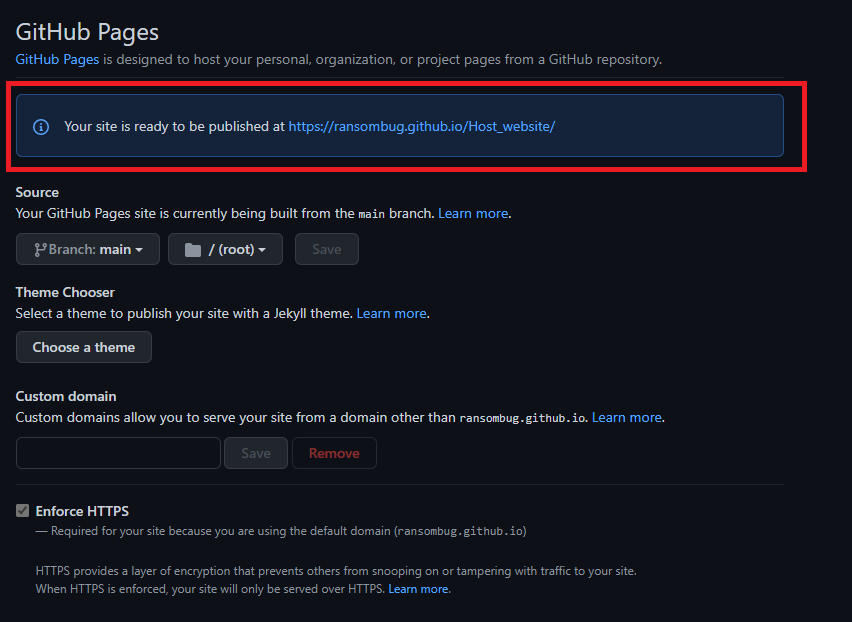
What happens when you get the 404 error!
After clicking on the generated link you might see that there is a 404 error which is because Github takes some time to publish the website.
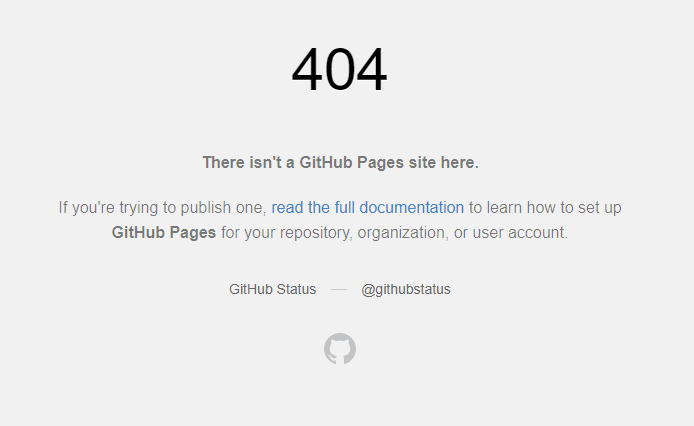
If this happens, wait for some time and try refreshing the page. Your site will be live and you are ready to share it across the internet.
And there you go! That’s all you need to do to deploy a static website on Github.
Part II: Using Netlify
Now let’s move on to quickly deploying a website on Netlify. You may presume that Github and Netlify come with a lot of things in common, however, GitHub is not meant for production sites with modern tooling.
Netlify is a more obvious choice if you require to deploy previews, rollbacks, and seamless site updates.
There are a few prerequisites to know about. You need to:
- Know how to use Git and Github.
- Have an account on Github or Gitlab or Bitbucket.
- Have an account on Netlify.
Getting started with Netlify
In this article, we will be using Netlify with Github Account to deploy the website.
Step 1: Log in to Netlify using Github
On clicking log in, you will be directed to the following page. Click on Github.

Step 2: Authorize Netlify
A sign-in page will appear, where you need to enter your Github credentials and continue.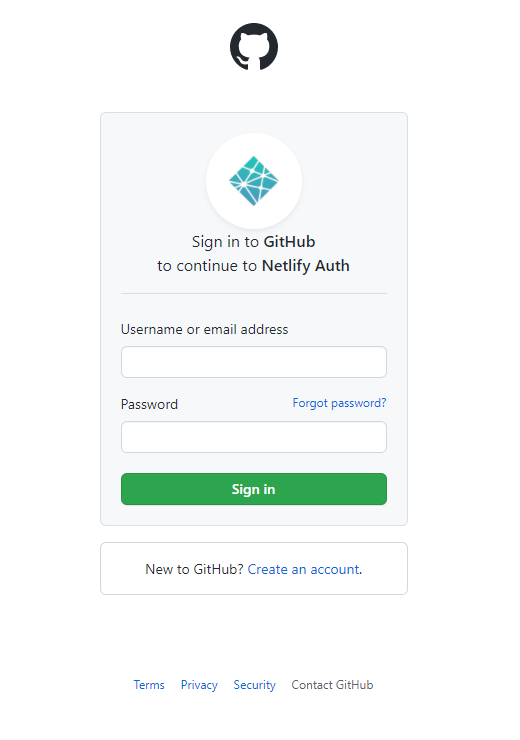
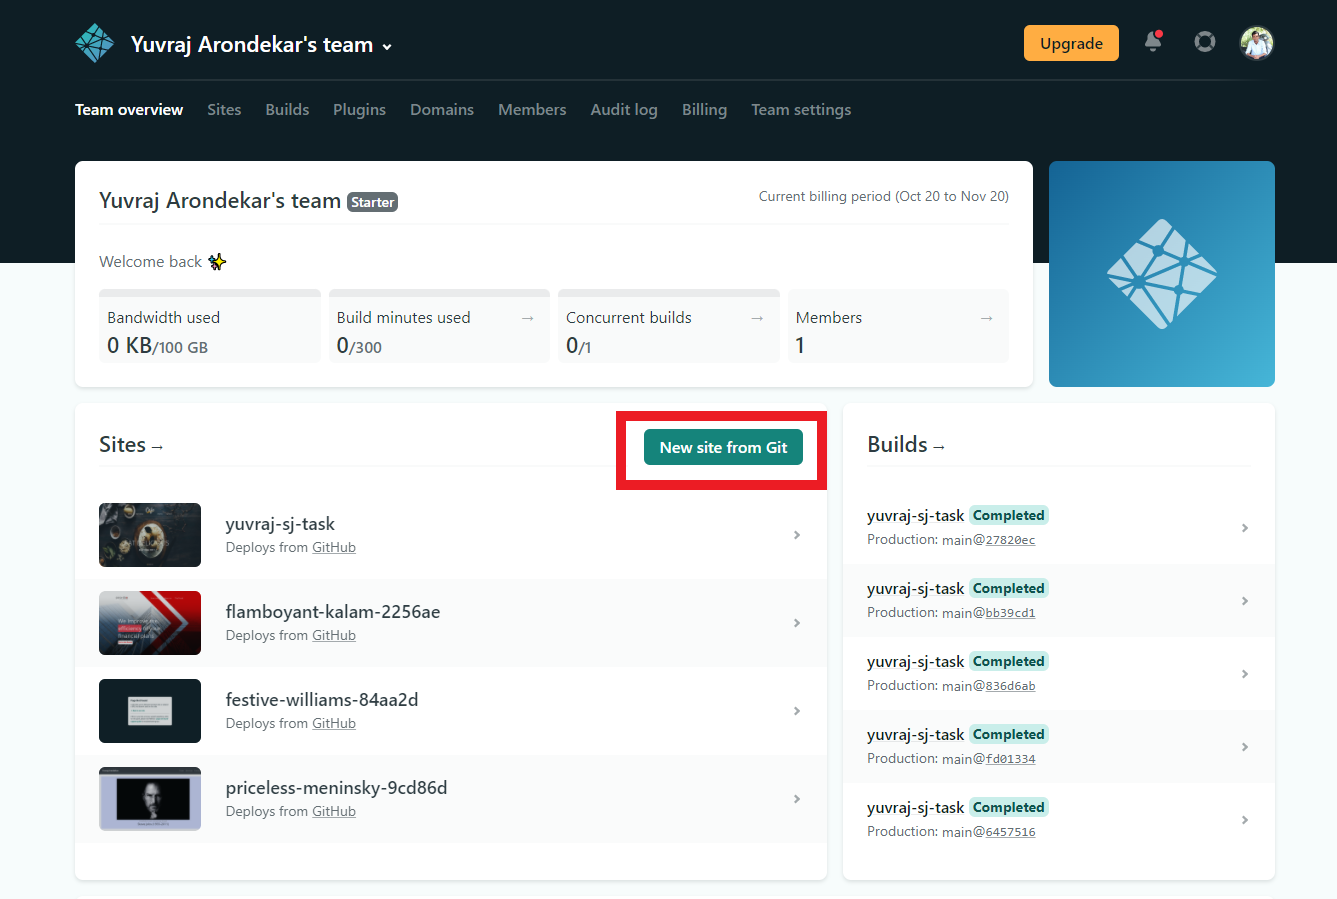
After the successful authentication, you will be redirected to Netlify’s homepage where you can see all the sites that you have hosted.
Now to host your new website click on the “New Site from Git” button.
Step 3: New Site from Git
Following this, you can choose from where you want to fetch your code. In this blog, we will use Github.
Step 4: Pick the version control system of your choice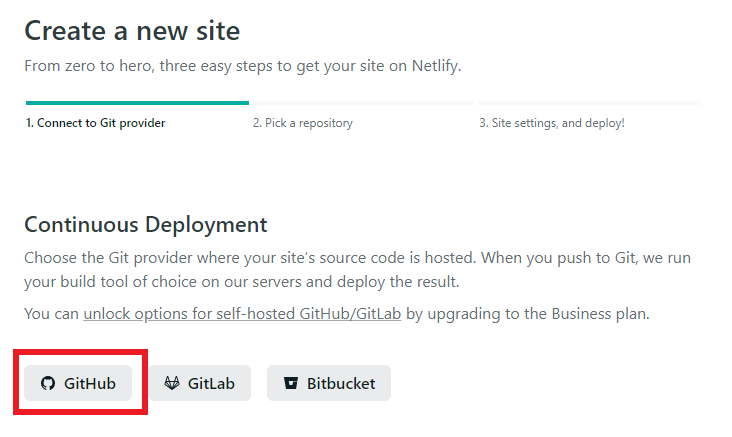 After you click on Github, you will be redirected to an authentication page. After successful authentication, simply choose the repository you want to host your website.
Step 5: Choose the repository of your choice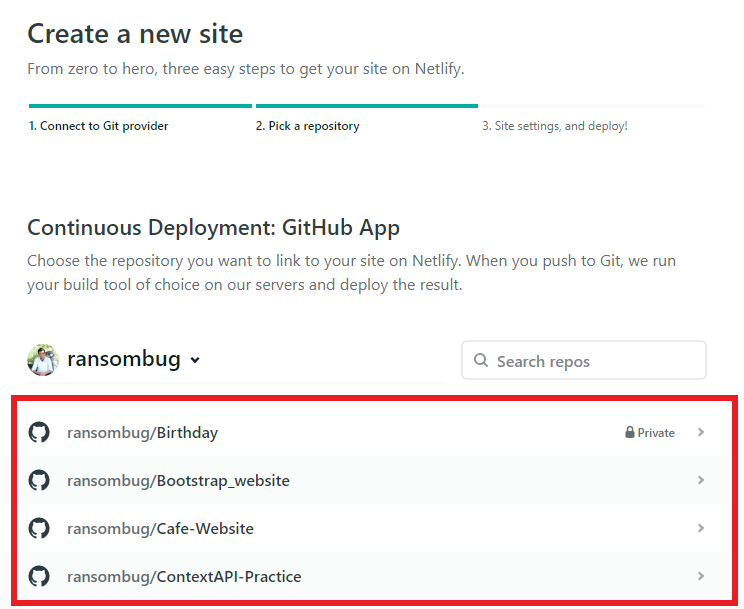
Once you choose the repository of your choice, check some of your site settings. It should look like the picture you can see below. In most cases, this will be the default setting for you to host your website.
Step 6: Deploy site / Configure settings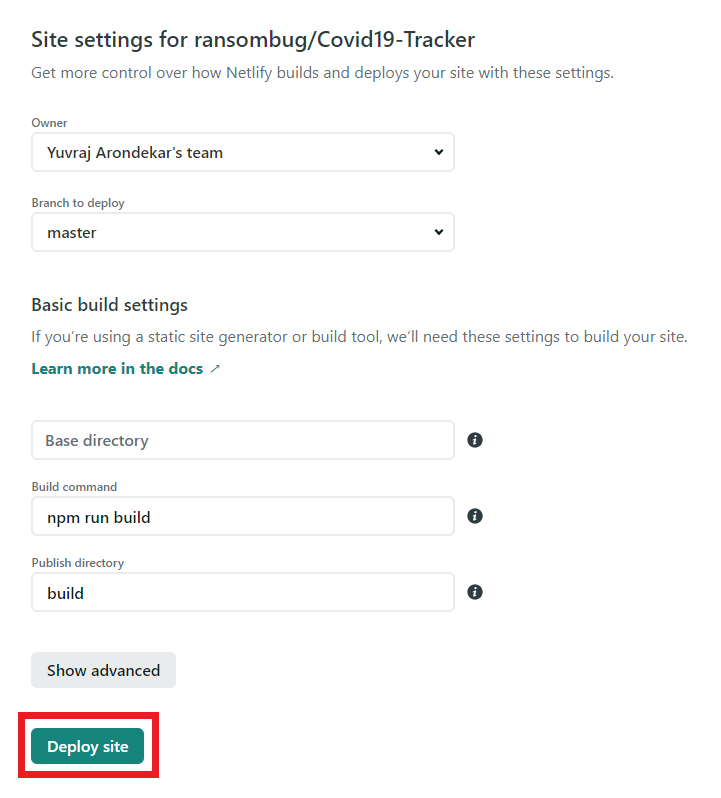
Now click on “Deploy site” and Netlify will do the needful.
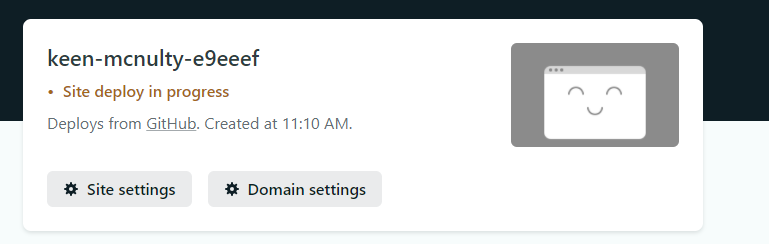
While your site is being deployed, you will see “site deploy in progress” :
Once your site is deployed, you will be able to see the URL.
Click on the URL to access your site.
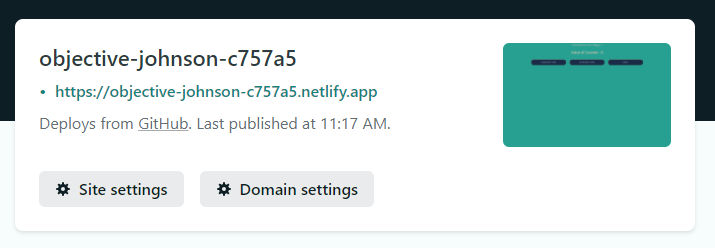
Your site is now deployed and is accessible to anyone over the internet.
Do you want to change the site name?
If you wish to change your site name you can do so by clicking on the “Site Settings” button just below your URL.
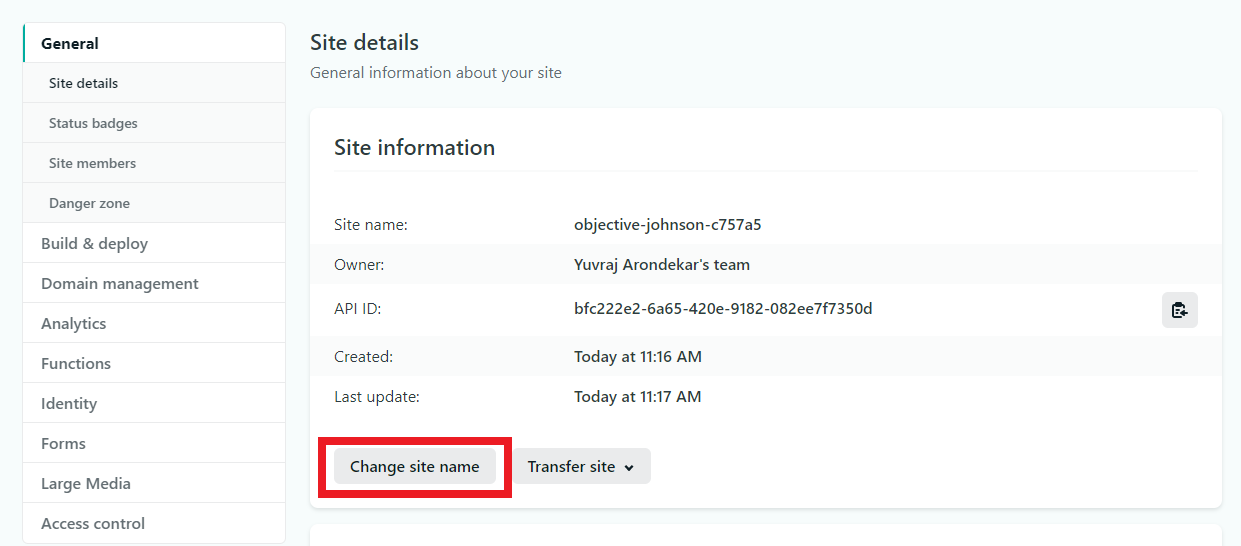
Now you can change your site name. If the name is already taken, you can try other unique names.
So there you have. With just a few simple steps, you have successfully set up your new site in no time. All that is left to do now is go ahead and host a webpage on Netlify and Github.


Master Shopify Themes Development: A Step-by-Step Guide to Create and Publish a Killer Shopify Theme!

Overcoming QA Challenges in Testing an AI-Powered Proposal Generator Tool