How to use Auto Layout in Figma
Wondering what Figma is or how to use Auto Layout in Figma and why you should even focus on it in the first place if you are a front-end developer? Well, it's essential to know what Figma is before diving into the techniques required to learn Figma Auto Layout.
Figma is a popularly used web-based vector graphics editor and prototyping tool. It provides designers with a wide range of possibilities for building interactive designs. It comes with extra offline functionality made possible by desktop programs for macOS and Windows. One of its best features is Auto Layout, a time-saving tool that lets designers specify how items should be grouped and displayed.
Many elements can be swiftly arranged using Auto Layout, which is especially helpful when developing a design system with standardized components that are simple to reproduce or modify. In this blog post, we'll go through how to use Figma's Auto Layout feature, why use Auto Layout in Figma, and offer some basic recommendations for designers who want to make dynamic components that react to and engage with their content.
What is Auto Layout?
First, let’s talk about what is auto layout in Figma!
One of Figma's best features, Auto Layout, is a particularly time-saving tool that enables you to define criteria for how components are grouped, allowing you to quickly group several elements without having to individually drag and align them.
Auto Layout may be used in conjunction with component libraries to create a design system with standardized elements that can be endlessly duplicated or customized with each instance. You may design dynamic components that respond to and interact with their content using auto layout. This includes buttons, tables, cards, and websites that easily respond and adapt to new content.
If you look at any Auto Layout tutorial in Figma, you will notice that Auto Layout stacks elements next to each other inside the frame. Either a vertical or a horizontal alignment is possible. Only one orientation at a time, either vertical or horizontal, is supported by Figma. In this way, there are other guidelines to use Auto Layout in Figma too.
If the elements should cling to a given horizontal (left or right) and vertical side, you can align them (top and bottom). Also, they could be centered.
You must combine or layer a few auto-layout frames if you want to create components that work both ways. Auto Layout lets you set the spacing between elements inside and add padding to the frame that uses it.
Auto Layout elements may set the following resizing options:
- Fixed width or height — object maintains its size.
- Hug contents — element adapts to the content inside.
- Fill container — objects fill the container space.

How to Create an Auto Layout in Figma
Let’s look at how to create Auto Layout in Figma!
- Open a new design file in Figma.
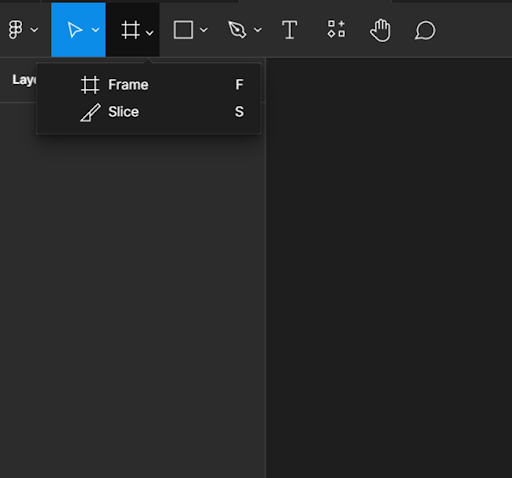
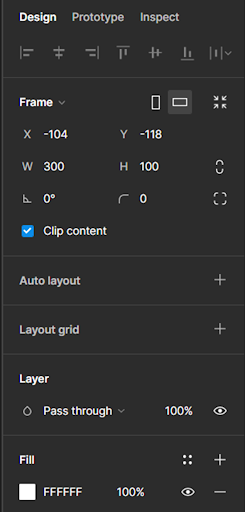
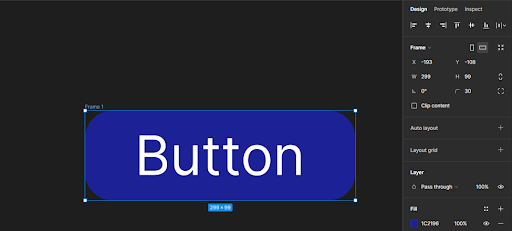
- Click “Frame” or “F” to create a new Frame, then click and drag to make a rectangular frame across your canvas. Auto Layouts are based on frames, so you’ll want to start with one rather than a simple rectangle.
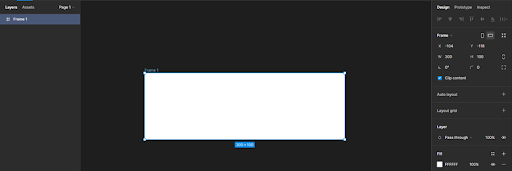
- Adjust the Frame's Design requirements as desired:
- To modify the size of your Frame, click and drag the corners of its enclosing box, or enter new dimensions under "width" and "height" in the Frame menu to the right.
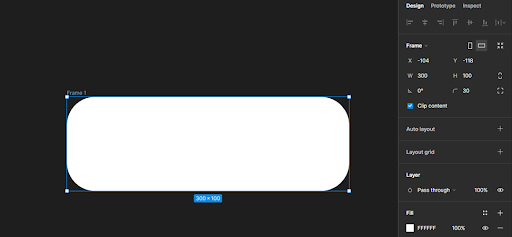
To create rounded corners, change the corner radius by clicking the dots inside the frame or the corner radius option in the "Frame" menu.
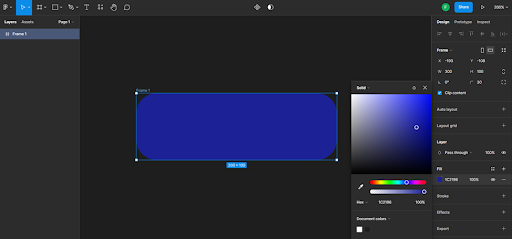
Under Fill, choose a fill color.
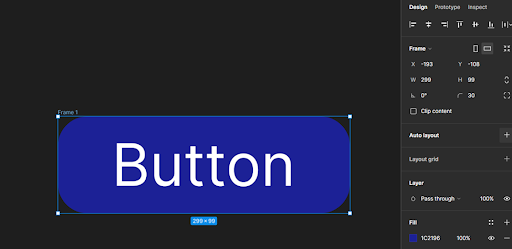
Click “T” to add text, and type text for your CTA or any other objects:
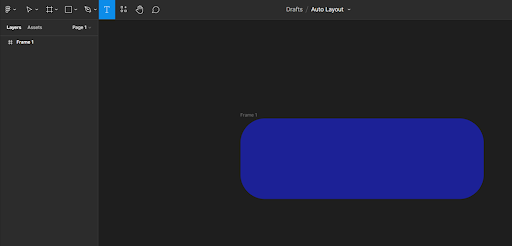
Click “T” for the text option, and type text for the button or selection object.
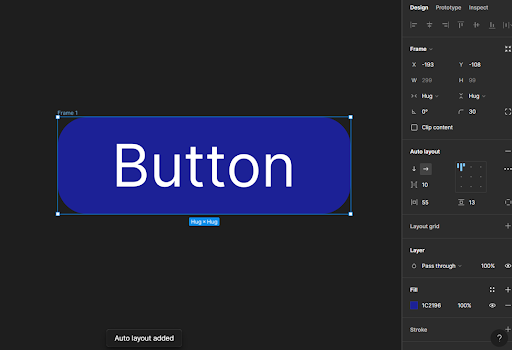
Auto layout can be added to a frame or a group of objects (that will be turned into a frame with the Auto layout). You may do that by clicking the plus sign in the right panel's Auto Layout Section or by using the "Shift + A" keyboard shortcut.
Your button is now in Auto Layout mode. From the auto layout menu, you may adjust settings to modify how it looks.
How to Change Auto Layout Settings
There are auto layout best practices that you can follow to ensure you create interactive designs. However, you first need to know how to change Auto Layout settings.
Direction
When elements are added, deleted, or rearranged, use the two arrows to indicate whether your layout will flow horizontally or vertically. Only one direction may currently be used at once. Imagine that each of your objects is placed one on top of the other, either vertically, horizontally, or both.
Spacing Between elements
To change how much space there is between each item, use the second input.
Both the existing elements and any additional elements that are included in the future will be subjected to these spacing requirements.
Alignment
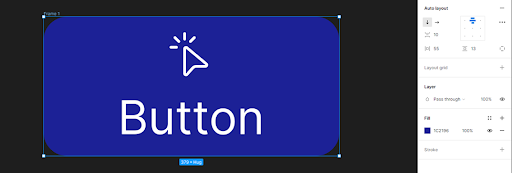
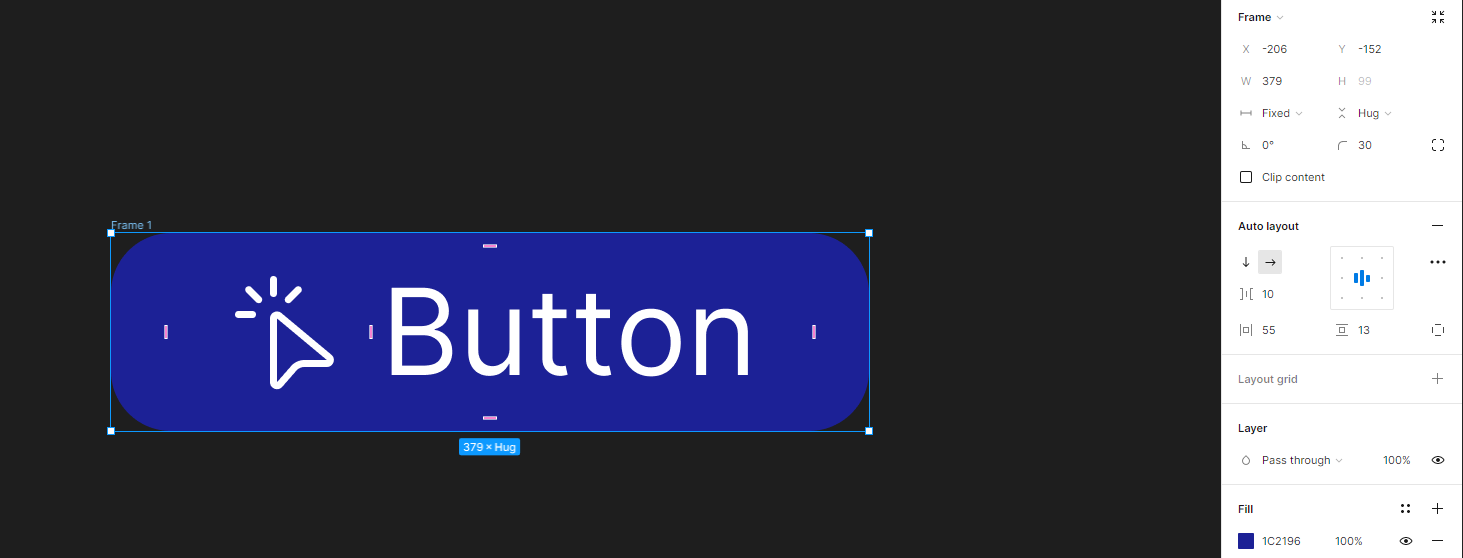
In the right-hand Auto Layout menu, our Auto Layout was already set to horizontal so the icon and text fall in a straight line. The orientation is changed to Vertical by clicking the downward arrow, which stacks them on top of one another.
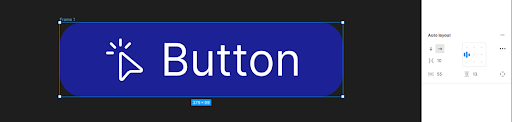
The small grid indicator demonstrates the alignment of the elements. We want to center-align our elements in the horizontal format to prevent dead space and ensure that they remain centered when the button is enlarged.
Clicking the very center of the grid will center contents horizontally and vertically.
Padding
Each element in your Auto Layout has a padding setting that you may change either individually or together. Adjusting padding will alter the overall size of the button or any objects, if the “Frame settings” are set to "Hug Contents" both horizontally and vertically since the button is now "hugging" that padded space.
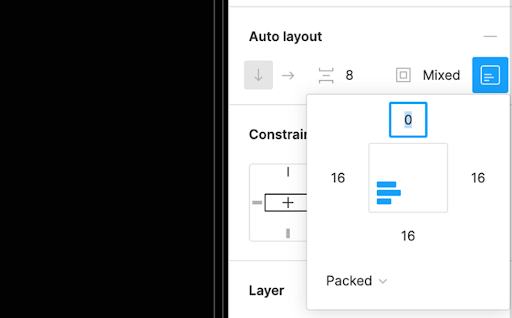
Within the "Auto Layout" option, padding and spacing settings can be changed:
The value of spacing modifies the distance between items (icon and text). The padding settings for these elements' horizontal and vertical edges alter how much padding surrounds them. You may change the padding settings for each individual element by clicking the square icon.
“Hug” - “Fixed” - “Fill Container”
Let's explore how these three frame settings in Auto Layout will impact your content.
Hug Contents: This allows your frame to "hug" everything inside of it; as a result, if you add shorter or longer text/content, the frame will change size proportionally. Since there is no defined width in this instance, that "Hug" will just continue to spread horizontally.
Fixed Width: As the title indicates, this option allows you to manually click and drag the button's length to make it fixed in either width or height. In the example below, we've fixed the width but left the height at "Hug contents," so the button will only extend vertically when more text is added.
Fill Container: You'll see that we clicked inside the text box and changed its default setting in the instance above to "Fill Container." It will thus take up the whole space, excluding the padding around the button.
Overall, Auto Layout is an essential tool for designers who want to produce polished designs that look fantastic on every platform. It helps save time and create responsive designs. If you need any more information on how to use Auto Layout or clarity on guidelines to use Auto Layout in Figma, get in touch with our experienced and proficient front-end experts today!


A Dive into Cybersecurity

Magento 2 Custom Module Development